
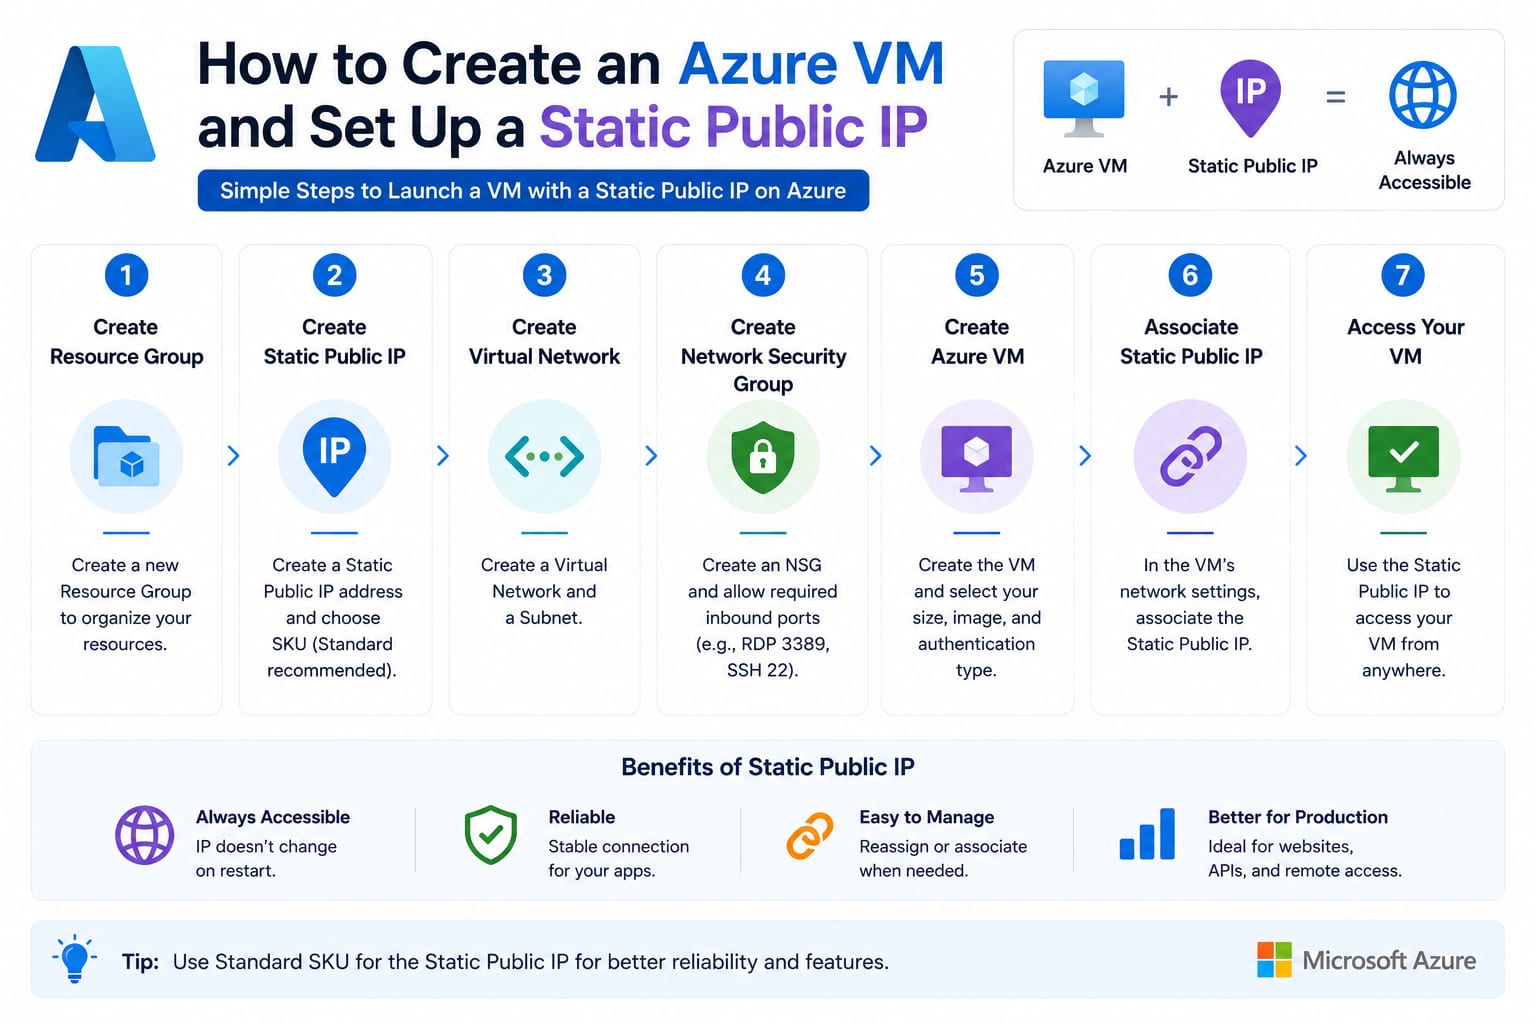
How to Create an Azure VM and Set Up a Static Public IP
Same problem as every cloud provider: you need a running server with an address that doesn't change every time you restart it. Here's the complete Azure version — creating a Virtual Machine, locking down network access properly, and attaching a static public IP so it's safe to point a domain or hardcode a config at.
Table of Contents
- What an Azure VM and Static Public IP Actually Are
- Prerequisites
- Step 1: Create the Virtual Machine
- Step 2: Configure the Network Security Group
- Step 3: Connect via SSH
- Step 4: Convert to a Static Public IP
- Step 5: Point a Domain at Your VM
- Step 6: Basic Server Hardening
- Doing All of This via Azure CLI
- Common Mistakes and Costs to Watch
- FAQ
- Wrapping Up
1. What an Azure VM and Static Public IP Actually Are
An Azure Virtual Machine is Microsoft's equivalent of a rented server — you pick a size (CPU/RAM), an OS image, and get full root/admin access to it.
By default, Azure assigns a Dynamic public IP to a VM. It stays the same while the VM is running, but can change when you stop (deallocate) and start it again — the exact same trap as AWS's default behavior. A Static public IP fixes this: once assigned, the address stays yours until you explicitly release it, regardless of how many times the VM restarts.
2. Prerequisites
- An Azure account with an active subscription
- Comfort with a terminal — Terminal on Mac/Linux, PowerShell or WSL on Windows
- An SSH client (built into Mac/Linux/WSL; use PuTTY if you're on plain Windows without WSL)
3. Step 1: Create the Virtual Machine
- Log into the Azure Portal and search for Virtual machines.
- Click Create → Azure virtual machine.
- Resource group — create a new one (e.g.
myapp-rg); grouping related resources makes cleanup and cost tracking far easier later. - Virtual machine name — something identifiable, like
myapp-prod-vm. - Region — pick the one closest to your users (e.g. Central India for an India-based audience).
- Image — Ubuntu Server 24.04 LTS is a solid, well-documented default for most Laravel/PHP or Node deployments.
- Size — a B1s or B2s burstable instance is enough for a small production app or staging environment.
- Authentication type — choose SSH public key, let Azure generate a new key pair, and download the private key immediately — Azure only offers it once.
- Inbound port rules — leave this at "Allow selected ports" and select SSH (22) only for now; we'll tighten this properly in the next step.
- Review the Disks and Networking tabs (defaults are fine for a first setup), then click Review + create, and finally Create.
Deployment typically finishes in one to two minutes.
4. Step 2: Configure the Network Security Group
Azure's Network Security Group (NSG) is the equivalent of AWS's security group — it's your VM's firewall, controlling exactly what traffic can reach it.
Go to your VM's Networking tab, and edit Inbound port rules:
PriorityPortSourcePurpose30022 (SSH)Your IP onlyAdmin access — never leave this as "Any"32080 (HTTP)AnyPublic web traffic340443 (HTTPS)AnyPublic web traffic (TLS)
The SSH rule is where people get it wrong — the same mistake as on any cloud provider. Setting the source to "Any" exposes SSH to brute-force attempts from anywhere on the internet. Scope it to your specific IP address, and update it if your home or office IP changes. For a team connecting from multiple locations, use Azure Bastion or a VPN gateway instead of opening SSH broadly.
5. Step 3: Connect via SSH
Lock down the downloaded private key's permissions first:
bash
chmod 400 myapp-prod-vm_key.pem
Connect using the VM's public IP address, visible on the VM's Overview tab:
bash
ssh -i myapp-prod-vm_key.pem azureuser@<your-vm-public-ip>
The default username is whatever you set during creation — azureuser is the common default unless you changed it.
If the connection hangs rather than failing outright, it's almost always the NSG blocking port 22 from your current IP — check that before troubleshooting anything else.
6. Step 4: Convert to a Static Public IP
- In the Azure Portal, search for Public IP addresses and find the one attached to your VM (it's auto-created alongside the VM).
- Open it, and go to Configuration.
- Change Assignment from Dynamic to Static.
- Click Save.
That's it — no separate allocation step like AWS's Elastic IP; Azure lets you convert the VM's existing public IP in place. The address is now permanent for as long as this Public IP resource exists and stays attached to your VM.
Reconnect to confirm nothing changed on your end:
bash
ssh -i myapp-prod-vm_key.pem azureuser@<your-static-ip>
7. Step 5: Point a Domain at Your VM
At your DNS provider (Azure DNS, Cloudflare, GoDaddy, etc.), add:
Type: A
Name: @ (or subdomain, e.g. api)
Value: <your-static-ip>
TTL: 300
Propagation usually takes a few minutes to a few hours depending on your provider and existing TTL.
8. Step 6: Basic Server Hardening
bash
# Update everything first
sudo apt update && sudo apt upgrade -y

# Enable UFW and only allow what's needed
sudo ufw allow OpenSSH
sudo ufw allow 'Nginx Full'
sudo ufw enable

# Disable password-based SSH login — key-only access
sudo nano /etc/ssh/sshd_config
# Set: PasswordAuthentication no
sudo systemctl restart sshd

# Automatic security updates
sudo apt install unattended-upgrades -y
sudo dpkg-reconfigure --priority=low unattended-upgrades
9. Doing All of This via Azure CLI
For reproducible setups or Infrastructure-as-Code pipelines:
bash
# Create a resource group
az group create --name myapp-rg --location centralindia

# Create the VM
az vm create \
  --resource-group myapp-rg \
  --name myapp-prod-vm \
  --image Ubuntu2404 \
  --size Standard_B2s \
  --admin-username azureuser \
  --generate-ssh-keys

# Create a static public IP
az network public-ip create \
  --resource-group myapp-rg \
  --name myapp-prod-ip \
  --sku Standard \
  --allocation-method Static

# Open port 22 (scoped to your IP) and port 80/443
az vm open-port --resource-group myapp-rg --name myapp-prod-vm --port 80 --priority 320
az vm open-port --resource-group myapp-rg --name myapp-prod-vm --port 443 --priority 340
Swap in your actual resource group, region, and naming — Standard SKU is required for static allocation; the older Basic SKU is being phased out.
10. Common Mistakes and Costs to Watch
- Leaving SSH open to "Any" — the most common way small VMs get compromised, identical risk to any cloud provider
- Losing the private key — no recovery path; you'd need to reset SSH access via the Azure Portal's VM access reset feature, which is more friction than just keeping the key safe
- An unattached static Public IP — Azure charges for static IPs that aren't attached to a running resource, the same logic as AWS's Elastic IP. Release ones you're not using.
- Forgetting to update the NSG's "My IP" rule — a changed home/office IP will suddenly look like the server is down
- Relying only on the NSG — it's not a substitute for a firewall on the VM itself; run both
11. FAQ
Does a static IP cost more than dynamic? There's a small additional cost for Standard SKU static IPs compared to Basic dynamic ones, but it's minor compared to the reliability of a fixed address for DNS and deploy scripts.
Can I move the static IP to a different VM later? Yes — dissociate it from the current VM's NIC and associate it with the new one. This is how you'd do a zero-downtime VM migration: bring up the new VM, test it, then move the IP over.
What's the Azure equivalent of AWS's security group? The Network Security Group (NSG) — conceptually identical, attached at the VM's network interface or subnet level.
12. Wrapping Up
Same groundwork as any cloud provider, just different portal labels: lock down the NSG, convert to a static IP, and everything downstream — SSH-based deploys, domain setup, TLS certificates — becomes routine instead of a source of mystery connection failures.
Running a GitHub Actions deploy pipeline against this VM? The same SSH-based deploy pattern from the AWS EC2 guide works here unchanged — just point the workflow's host secret at this static IP.